If you’re running WordPress, the SimpleStats plugin is the fastest way to install tracking on your site — no code editing required. This guide walks you through installing the plugin, creating or connecting your SimpleStats account, and confirming that data is flowing.
You don’t need a SimpleStats account before you start. The plugin can create one for you during setup. If you already have an account from signing up on simplestats.com, you can sign in with it instead.
Step 1: Get the SimpleStats plugin
- In your WordPress admin, go to Plugins » Add New.
- In the search box, type SimpleStats.
- Find SimpleStats in the results and click Install Now, then Activate.
Step 2: Create or connect your SimpleStats account
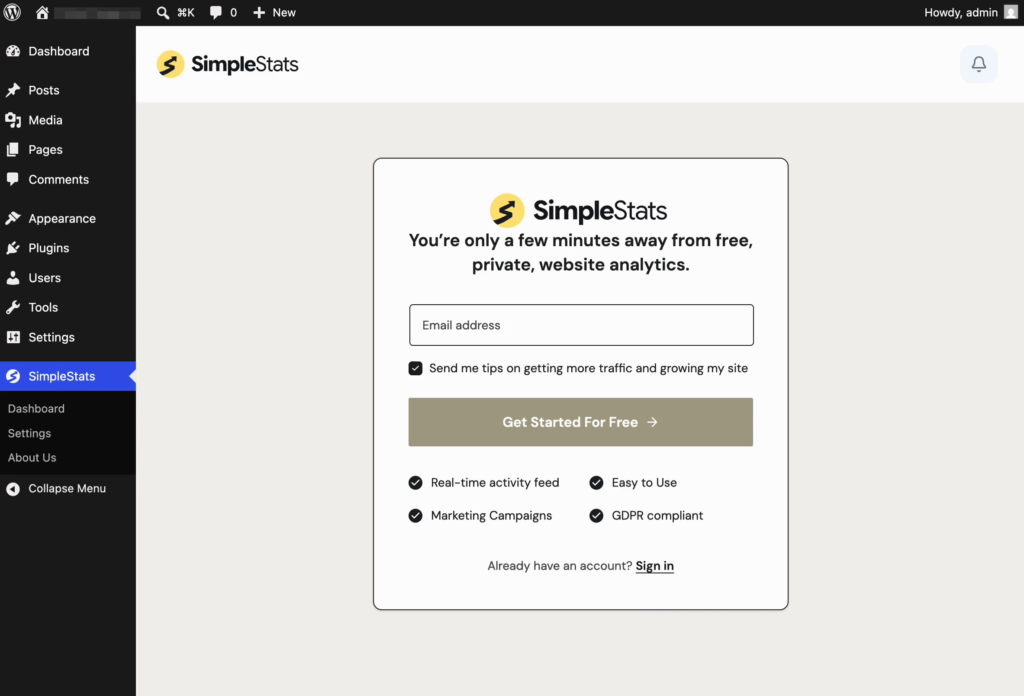
Once the plugin is activated, open the SimpleStats option in your WordPress admin sidebar. You’ll see a welcome screen where you can quickly sign up by entering an email address or sign into an existing account:
Option A: I’m new to SimpleStats — create an account from WordPress
- Enter your email address in the Email address field.
- (Optional) Uncheck Send me tips on getting more traffic and growing my site if you’d rather not receive marketing emails.
- Click Get Started For Free.
The plugin creates a SimpleStats account with the email you entered and connects your WordPress site to it. A temporary password is emailed to you — hang onto it, since you’ll need it if you want to sign in on the web app at app.simplestats.com later.
Option B: I already have a SimpleStats account — sign in
- Click Already have an account? Sign in.
- Enter the email and password from your existing SimpleStats account.
- Click Sign in.
The plugin connects your WordPress site to your existing SimpleStats account.
Step 3: Choose your tracking mode
After signing in, the plugin asks you to pick a tracking mode for this WordPress site:
- Advanced — uses cookies and local storage to identify repeat visitors. Unlocks heatmaps, session replays, and returning-visitor insight. Choose this if you want the full behavioral picture.
- Lightweight — cookie-free and privacy-friendly (GDPR/CCPA-aligned by default). Tracks pageviews and goal conversions only, with no repeat-visitor identity. Choose this if simplicity, privacy, or minimal cookie disclosure matters more than the deeper insights.
Your tracking mode is set when you connect this site and can’t be changed later, so pick the one that fits how you want to measure this site.
Step 4: Confirm the connection
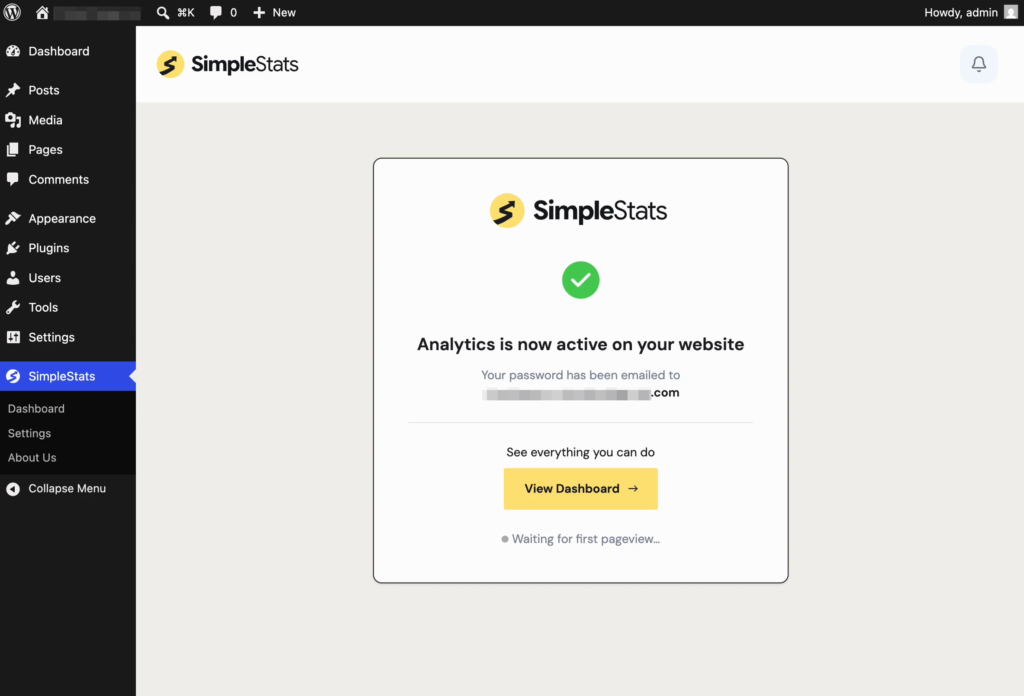
After sign-in and tracking-mode selection, you should see the “Analytics Added” confirmation. SimpleStats is now listening for visitors on your site.
If you signed up from this screen (instead of logging in), you’ll see a message:
“Your password has been emailed to [your email address]”
Step 5: Verify tracking is firing
Before you rely on the dashboard, confirm that the tracker is actually installed on your site:
- Open your website in a new tab (an incognito or private tab works best, so your logged-in admin session doesn’t skew the data).
- Right-click on the page and choose View Page Source (or press Ctrl+U on Windows / Cmd+Option+U on Mac).
- Use Ctrl+F / Cmd+F to search the source for
/pixel/.
You should see a line like app.simplestats.com/pixel/[YourToken]. If you do, tracking is live.
Step 6: See your first data
Head to your SimpleStats dashboard at app.simplestats.com and refresh. You should see your visit appear within seconds.
For a walkthrough of what’s available in the dashboard, see How to Setup SimpleStats.
Troubleshooting: connected, but no data
If your plugin shows “Analytics Added” but your dashboard stays empty, this is usually one of two things — try them in order.
1. Make sure you’re testing as a real visitor (not as WP admin)
By default, the SimpleStats plugin excludes WordPress administrators from tracking. If you visit your own site while logged in as admin, you won’t appear in the dashboard. This is a feature that keeps your own testing traffic from distorting your visitor analytics.
To test that tracking is working:
- Open your site in an incognito or private browsing window (or a browser where you’re not signed into WordPress).
- Load a page or two.
- Return to your SimpleStats dashboard, visits should appear within seconds.
If you’d rather include admin visits in your analytics (most sites shouldn’t), toggle Exclude administrators from tracking off in SimpleStats » Settings.
2. Confirm the tracking pixel is on your page
If incognito visits still don’t appear:
- Open your site in a new tab.
- Right-click and choose View Page Source (or Ctrl+U / Cmd+Option+U).
- Use Ctrl+F / Cmd+F to search the source for
/pixel/.
You should see a line like app.simplestats.com/pixel/[YourToken]. If you do, tracking is installed and data may just be taking a moment to appear.
If you don’t see the pixel snippet at all, contact support or set up tracking manually using the pixel-based install as an alternative.
What’s next
- Explore the dashboard. See How to Setup SimpleStats for a walkthrough of the SimpleStats dashboard, heatmaps, and session replays.
- Need help?